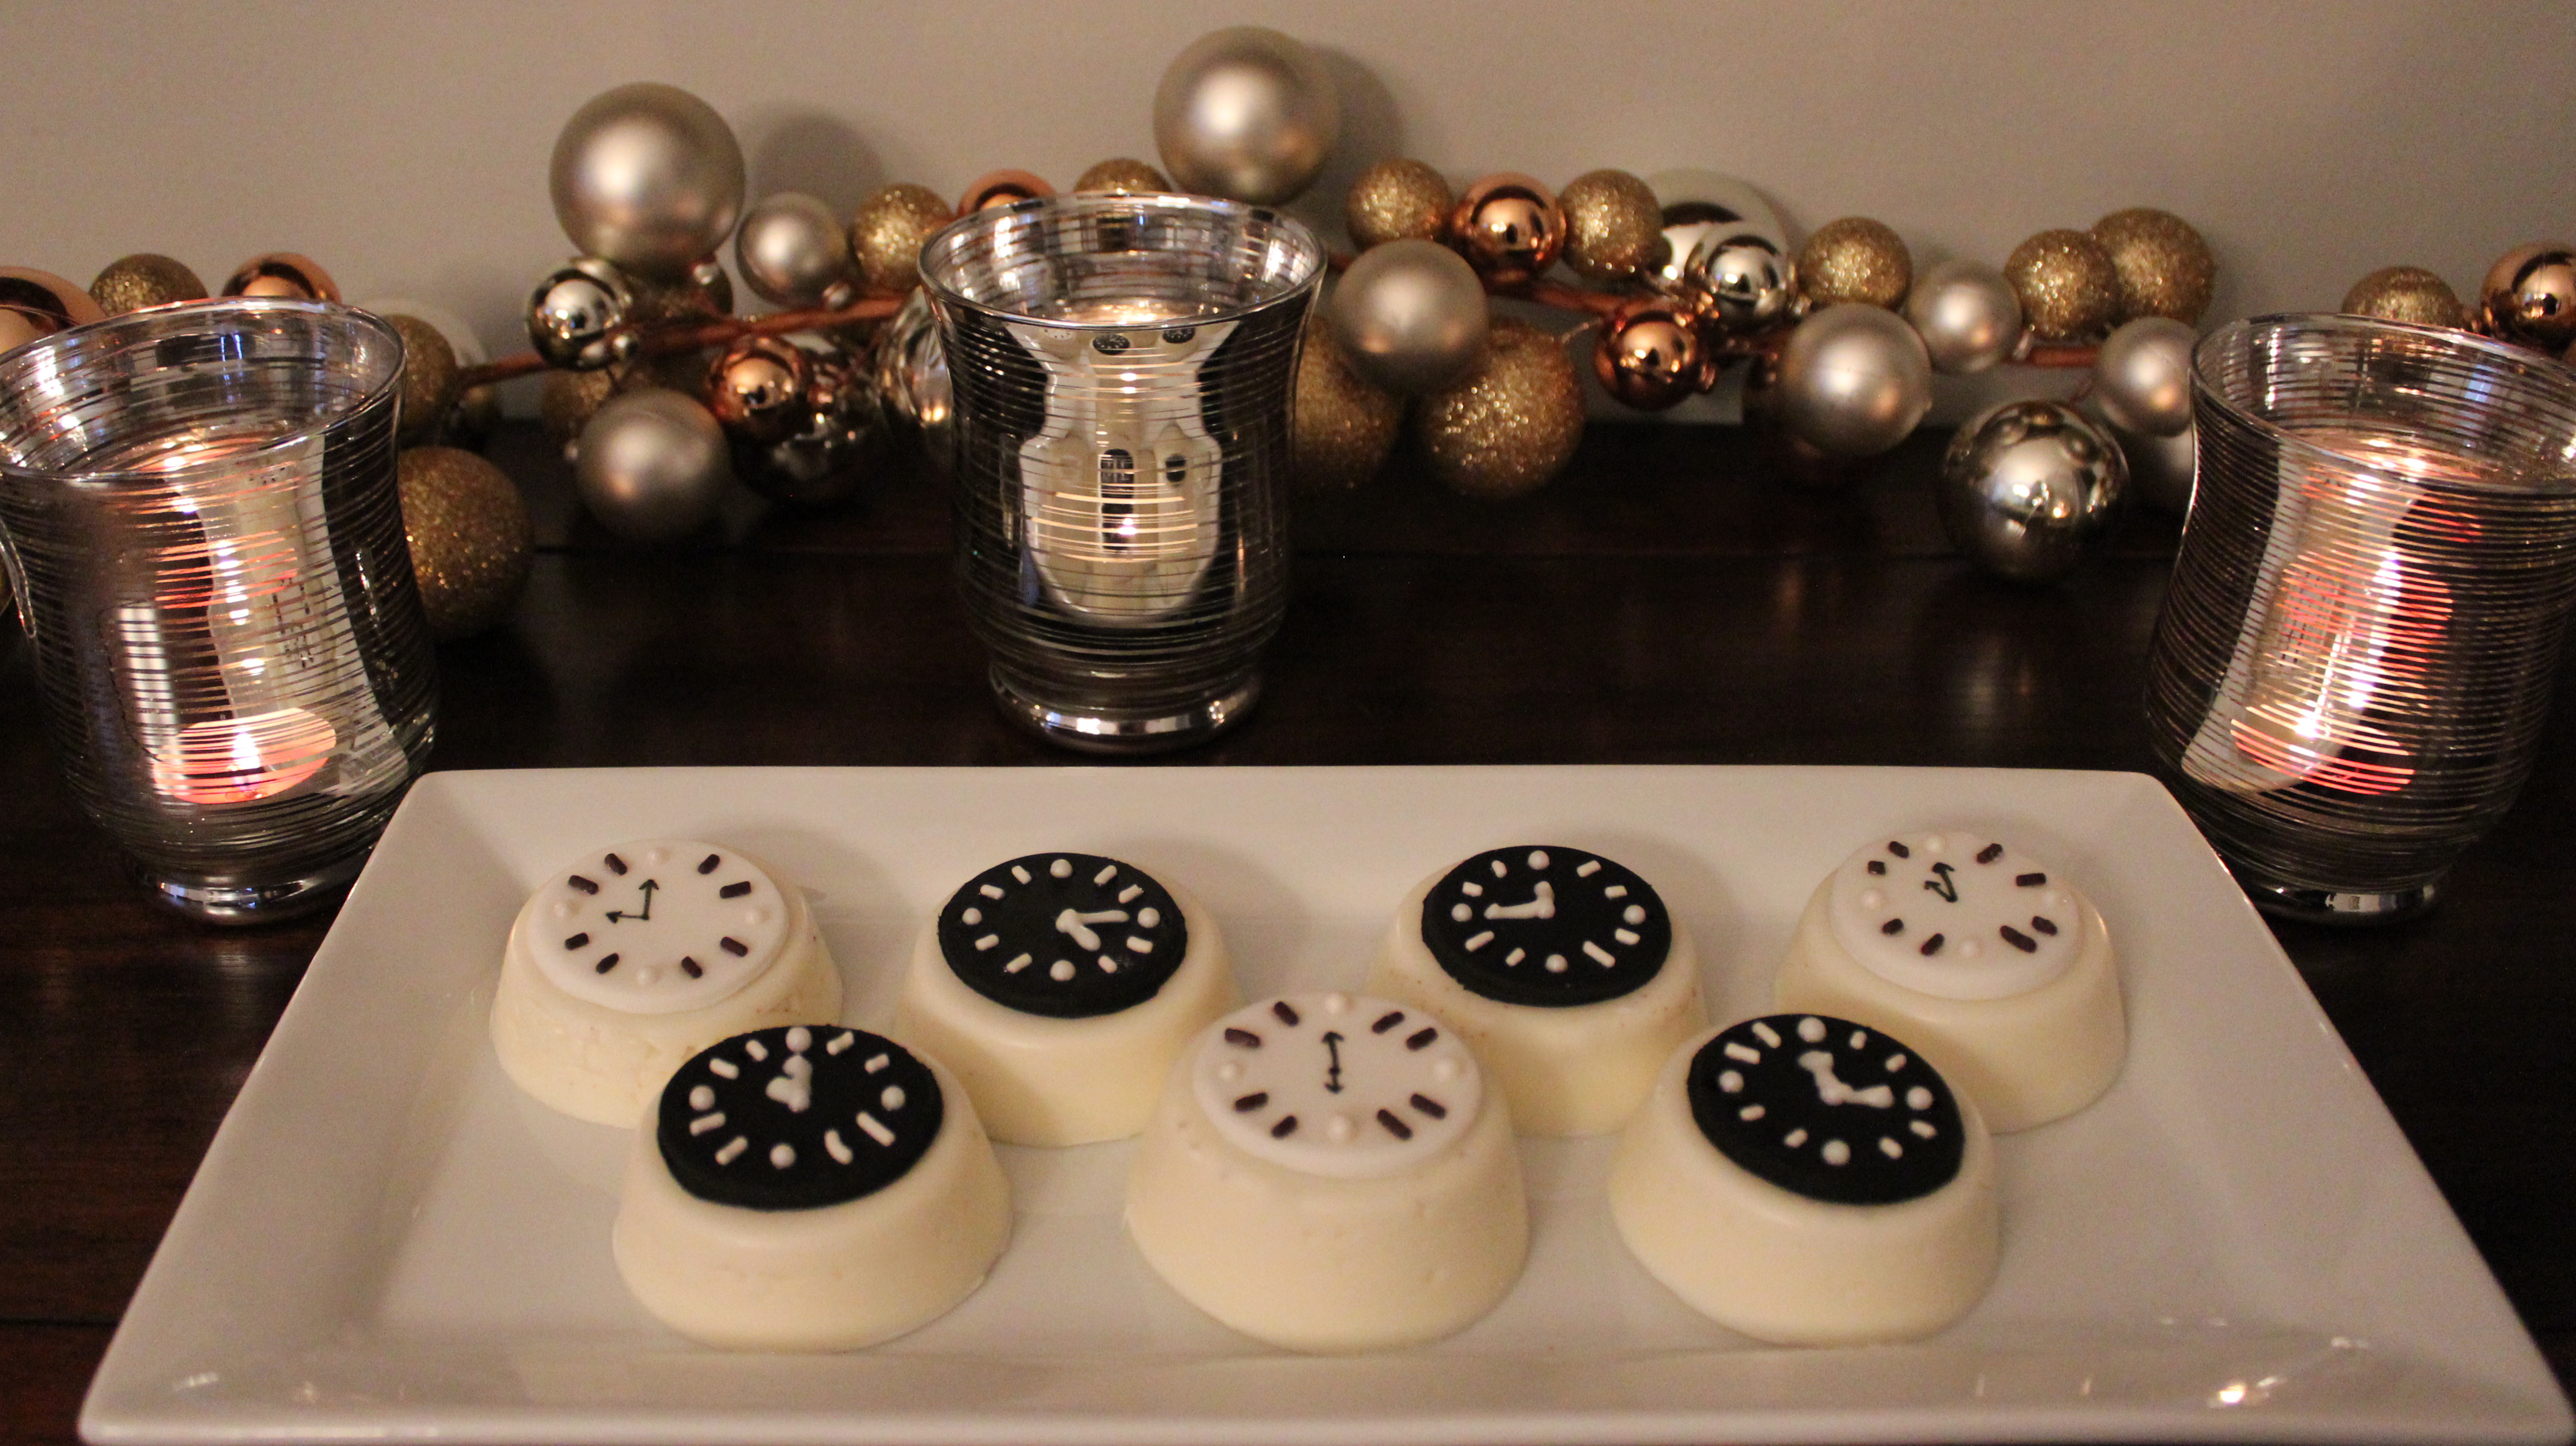
Happy 2016! How was your NYE?
Last night we had a slight change in plans due to our oldest not feeling well so my husband stayed home with her while I dropped by the first party with something savory, the Parmesan rounds that were in last year’s post. For the second party, my husband brought over something sweet. I decided to try my hand at making these Oreo dipped clocks. The hardest part was getting the white chocolate perfectly smooth around the cookies. The rest was cake. Here I am writing this post while the countdown winds down. Oh well. Sick happens and we have been in the clear since last spring so I guess we are due. Cheers!
As of today, NYE is 364 days away. You can pin this idea for then or convert it into your dessert for Valentine’s Day. The chocolate melts I used come in a variety of colors including red and pink. Add some Valentine sprinkles on top and you’ve got your sweets covered next month. 😉
Oreo Clocks
Makes 12
For this dessert you will need:
- Oreo Double Stuff cookies
- White and black fondant (again Wilton from Wal-Mart)
- White Chocolate (I used Wilton dipping chocolate)
- Chocolate and white sprinkles (hint, I used leftover Christmas sprinkles and just picked out the white ones)
- Pearl sprinkles
- Edible black ink pen ($5 for a set of 4 colors at Wal-Mart)
- A cupcake pan
- Corn syrup
Directions:
- Melt a tub of chocolate in the microwave on 30 second increments until completely melted.
- Take a metal spoon from your silverware drawer and stir chocolate. Drop a few spoonfuls into each cupcake container until bottom is completely covered. Only do a few at a time because the chocolate hardens pretty quickly.
- To get bubbles out of the chocolate, pick up and drop pan on the counter a few times. Place an Oreo into the center of each cupcake container. Place the pan in the fridge to set the chocolate. It should only take a minute or two to set.
- Melt another container of white chocolate and drizzle spoonfuls over the top of each Oreo until covered completely. Again, only do a few Oreos at a time as the chocolate will harden and you want to get those bubbles out.
- Pick up the pan and drop it a few times to smooth out the chocolate after each Oreo is covered. This part is a bit painstaking, but it will make your chocolate smooth instead of lumpy when you pop these out the pan later.
- Once all Oreos are covered and smooth, place pan in fridge.
- After a few more minutes take pan out and carefully turn pan over on parchment paper. They should pop right out. If not, tap gently on your pan until they do.
- Roll out your fondant and use a circular cookie cutter that roughly matches the diameter of the cookie. I used a champagne flute and the diameter was slightly smaller, but get creative and see what you can find in your cabinets. I don’t believe in going out to buy something that you won’t use very often like a 2 and 7/8 inch cookie cutter.
- Alternate the white and black fondant on each cookie.
- Using the corn syrup poured into a small cup, dip the end of toothpick into the syrup and dot your fondant with 4 dots representing 12, 3, 6 and 9 on your clock. Add the pearls to each dot and press in slightly so it stays firmly in place.
- With the corn syrup, again use the chocolate sprinkles on the white fondant and the white sprinkles on the black fondant to affix the remaining numerals on the clock.
- Finish with the edible ink pen on the white fondant to create the first and second-hand for your clock. I put some white melted chocolate in a sandwich bag, snipped off one end and piped the white hands on the black fondant.
That’s it. I will admit, it’s a bit of work to decorate the cookies, but there was no baking involved and it probably took me a total of an hour with some wait time included.

Here’s the chocolate I used to decorate the cookies. I went through 3 tubs of these to make 12 cookies. Yes, that is a lot of chocolate!

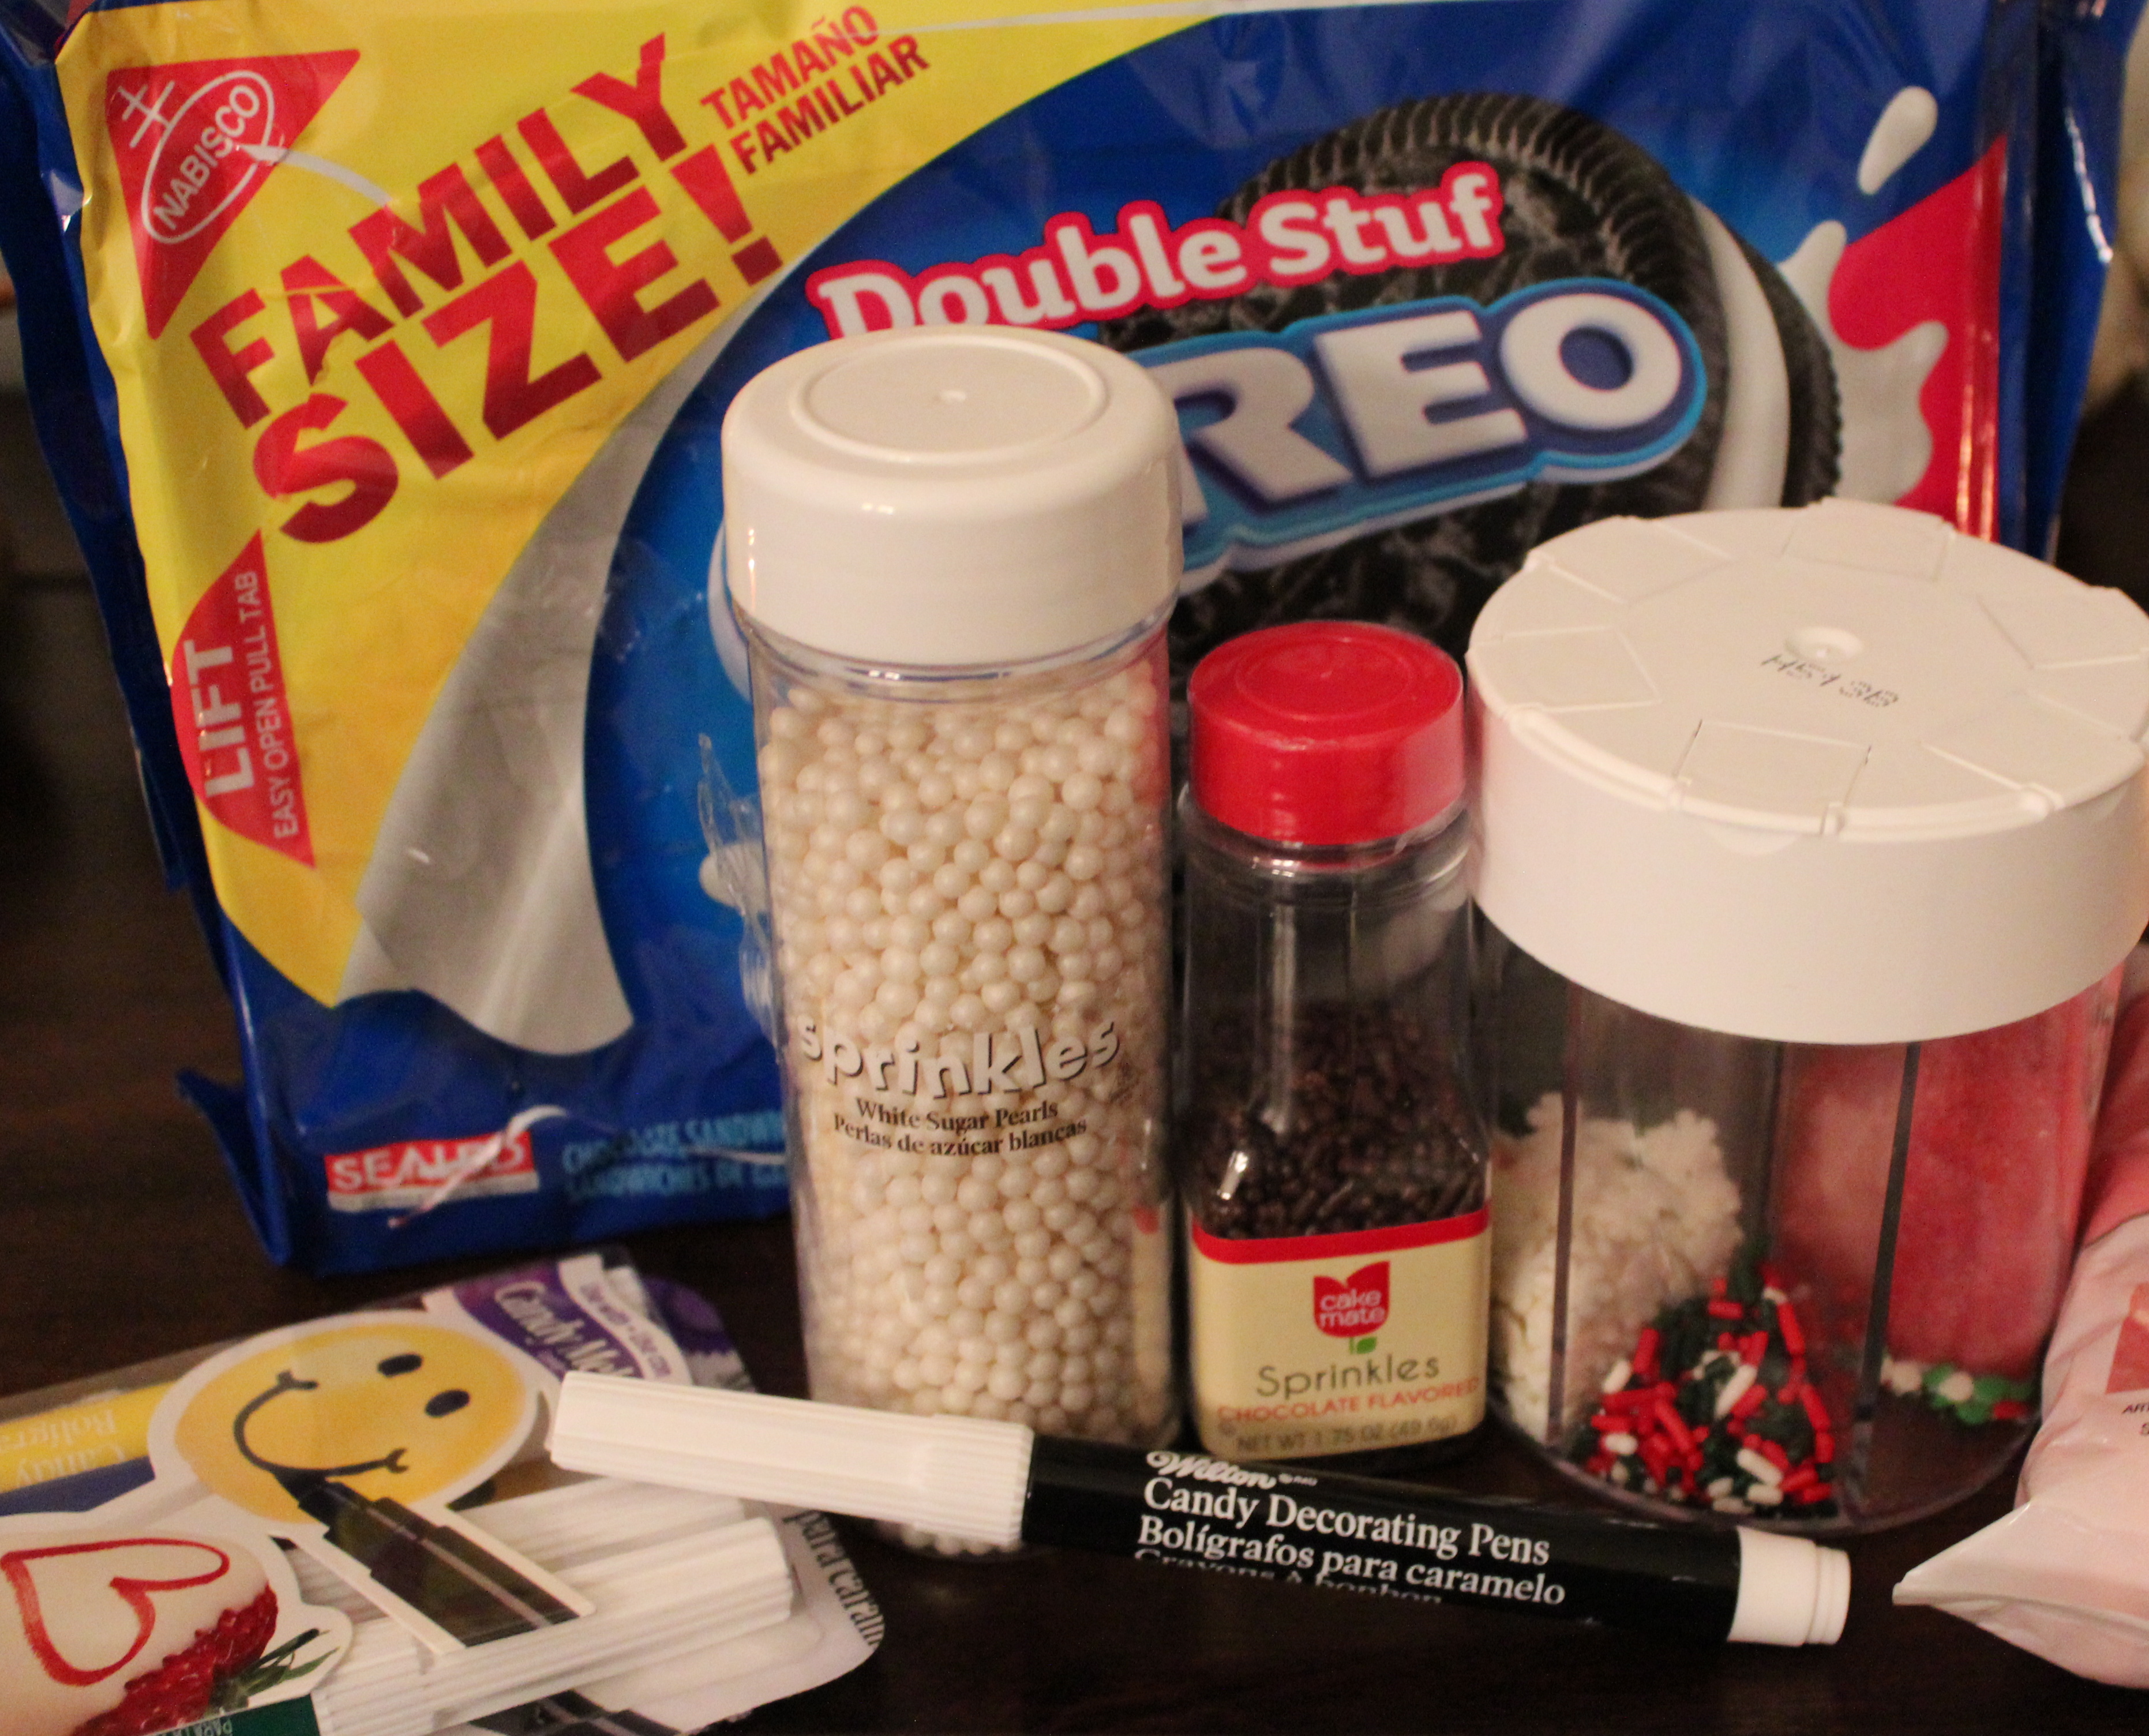
Here are the other items that went into decorating the Oreos.
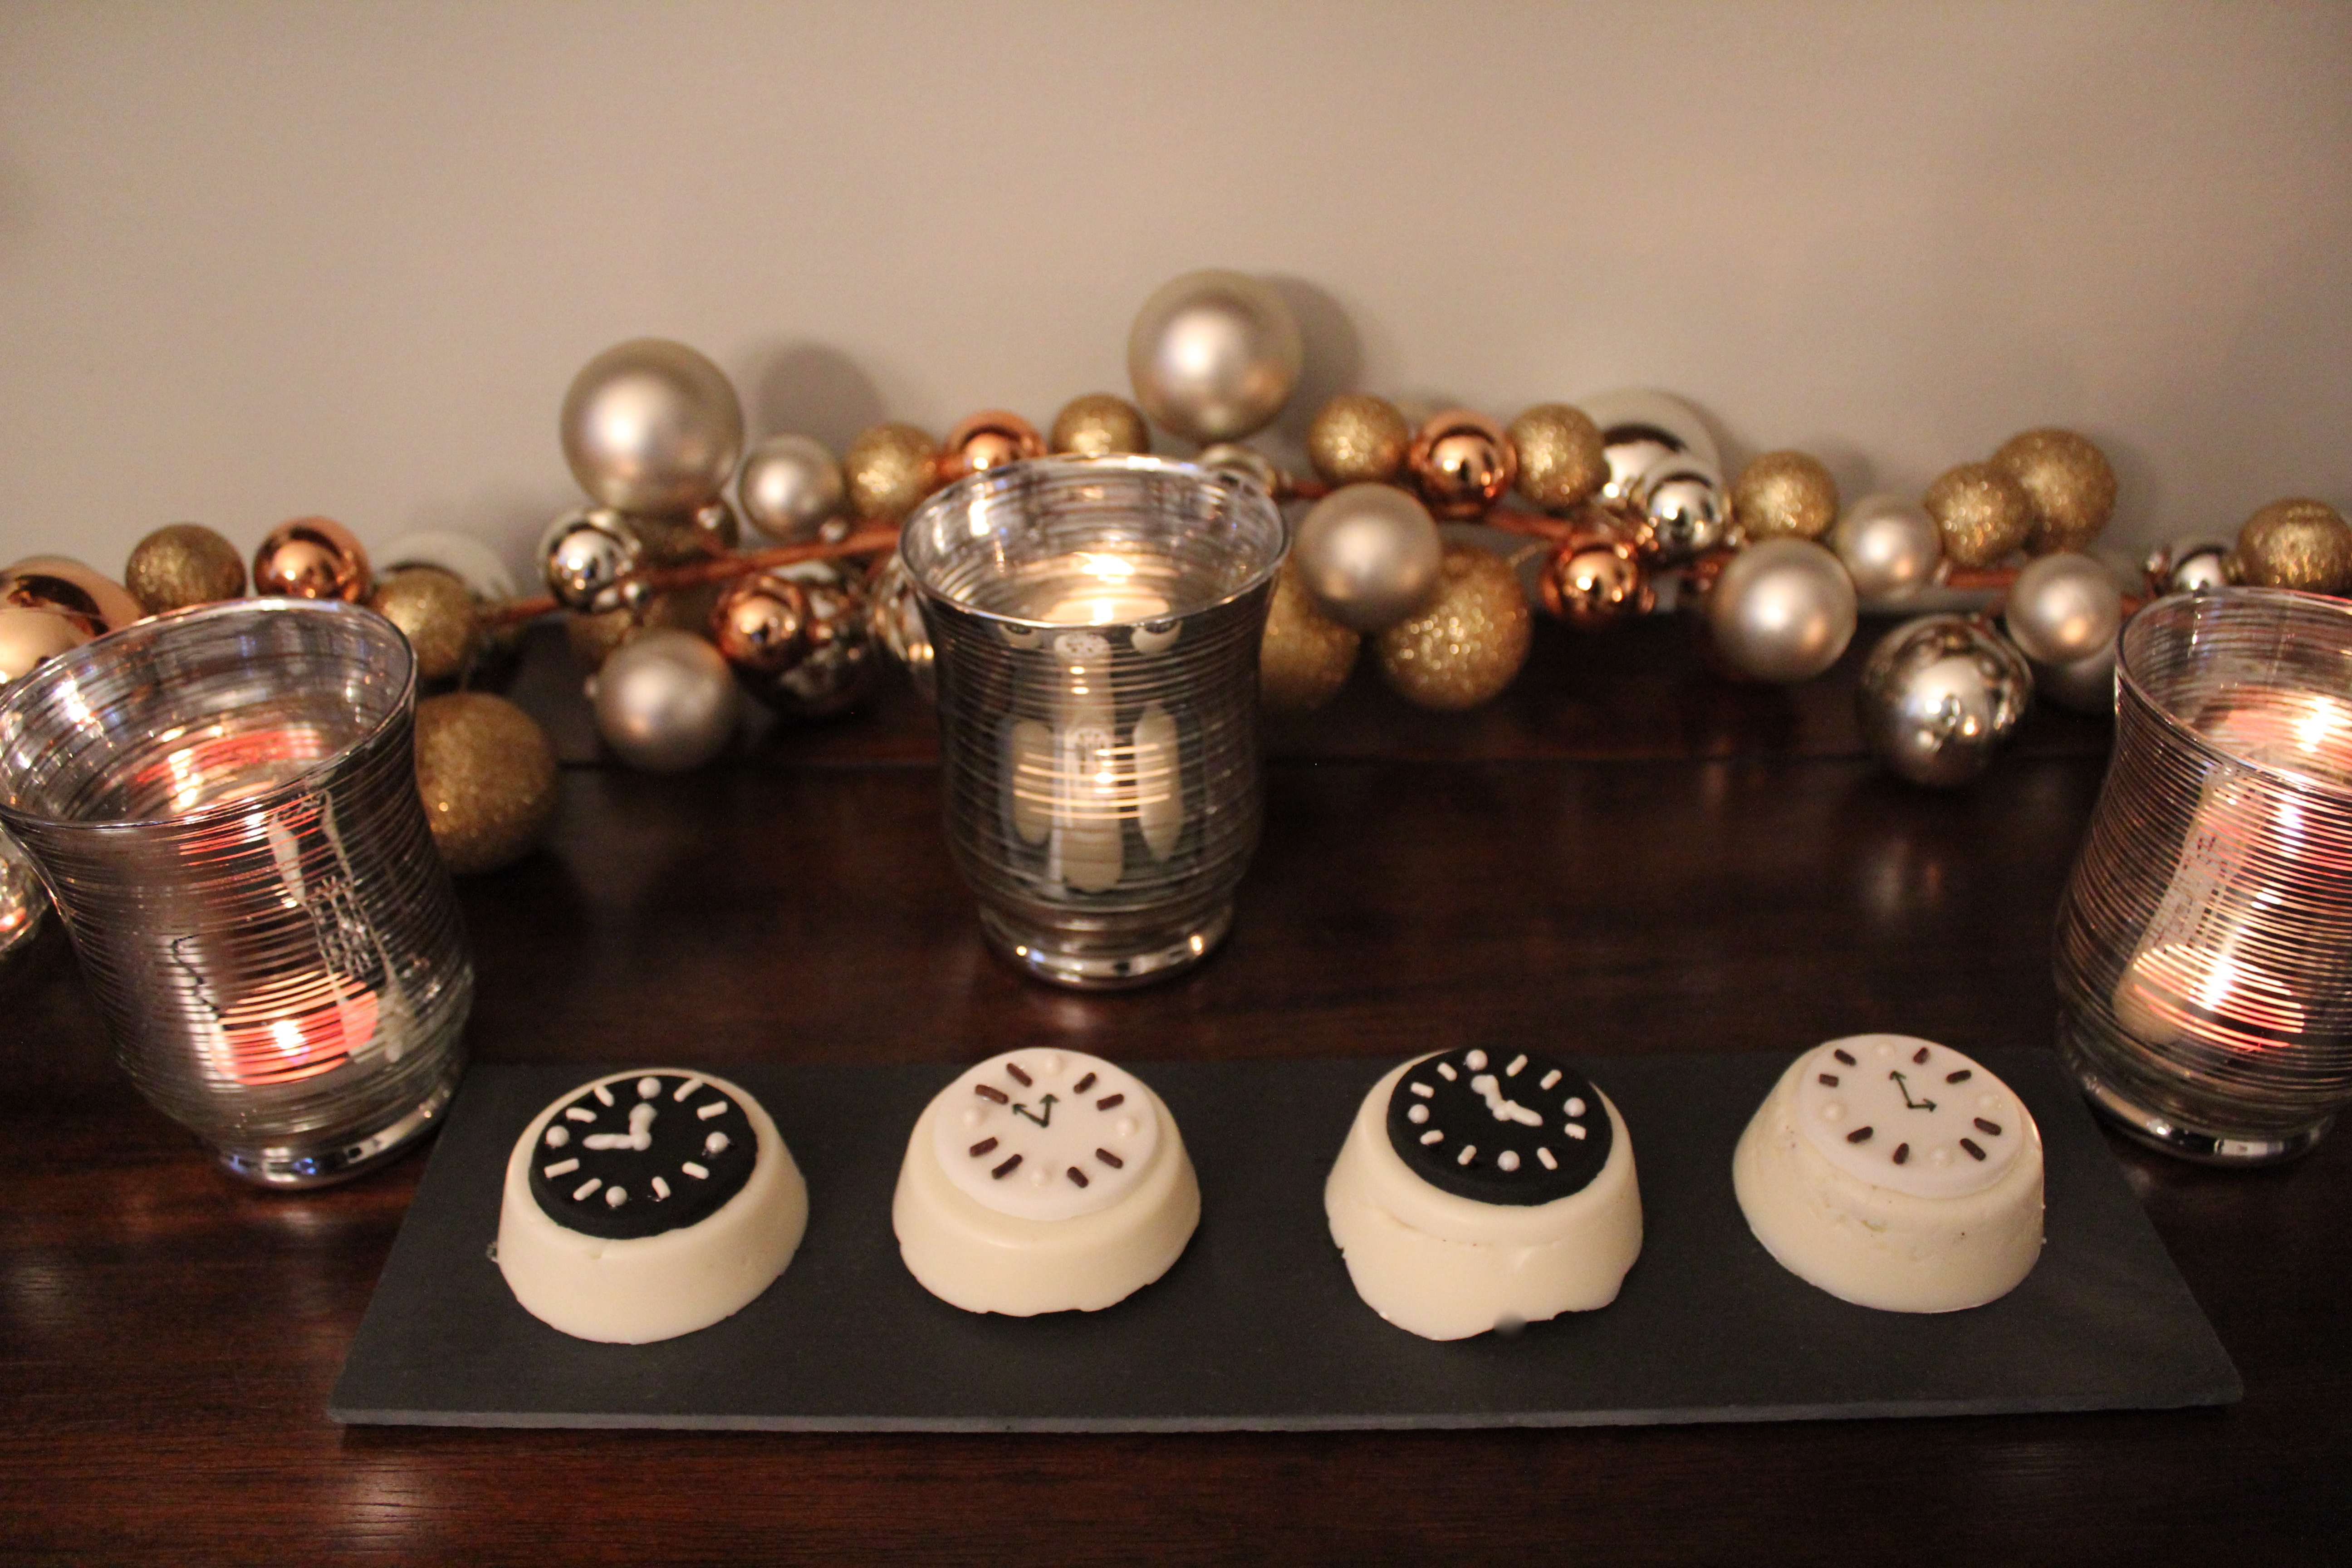
Whattya think? You can see the two in the middle picture above were one of the first Oreos that I frosted. It takes a little practice to get that chocolate nice and smooth, but overall, the idea is pretty cute.
Credit goes out to Pint Sized Baker for the great idea.

